
Showing posts with label tutorial. Show all posts

Sunday, August 28, 2011

How To: Wear a Summer Outfit in the Fall

011e
010e
Photo0043
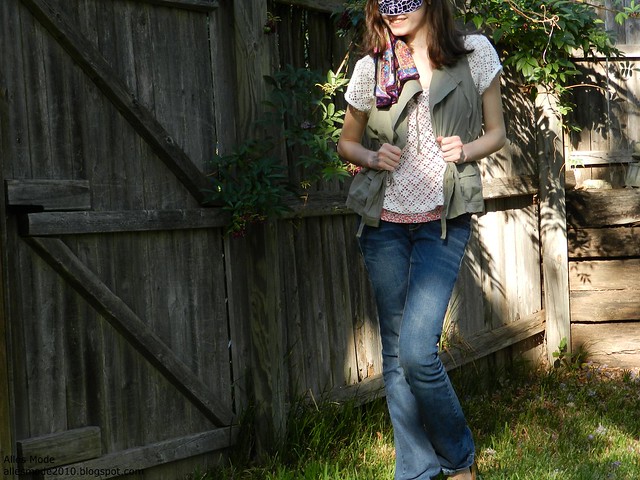
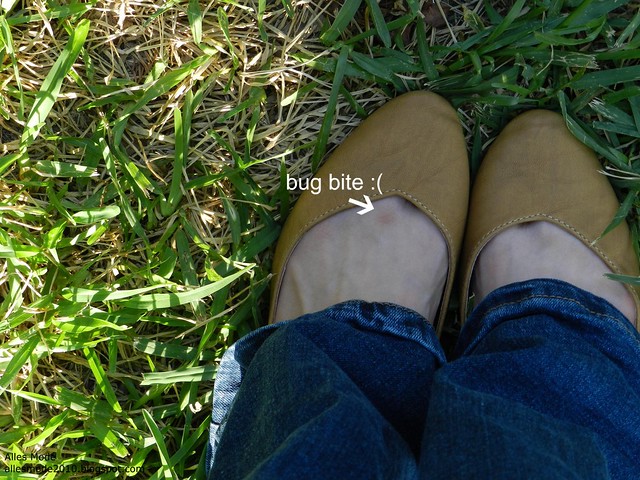
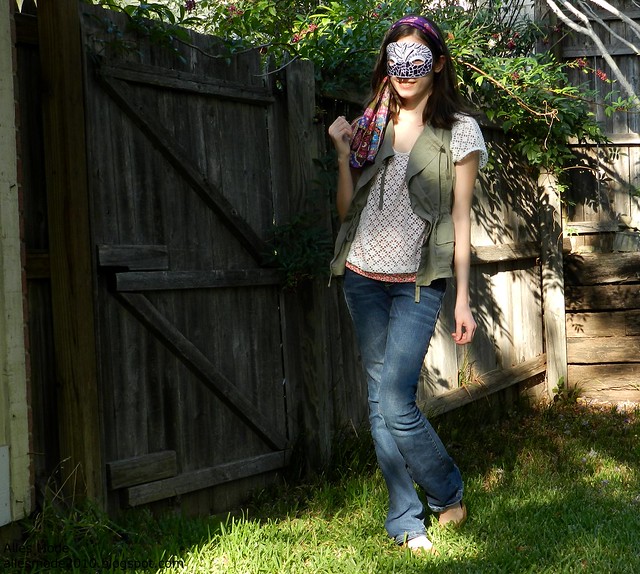
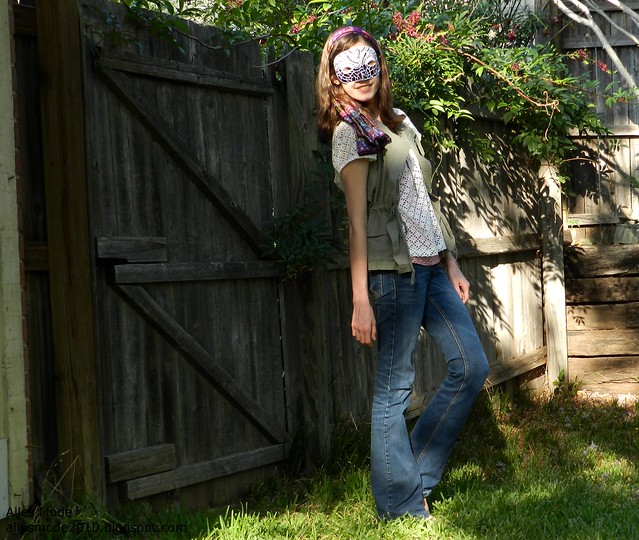
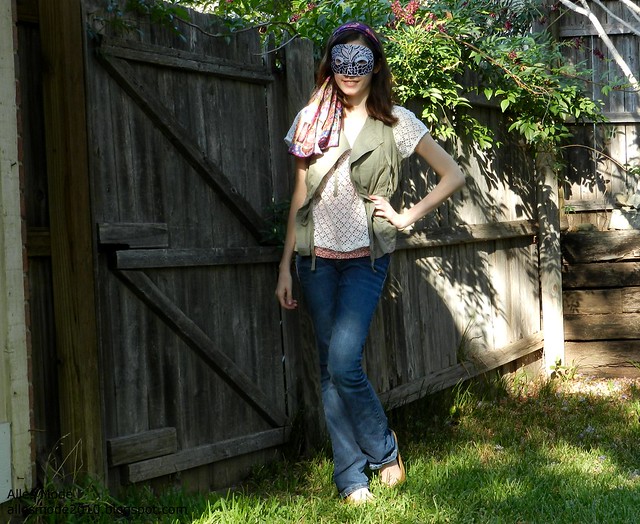
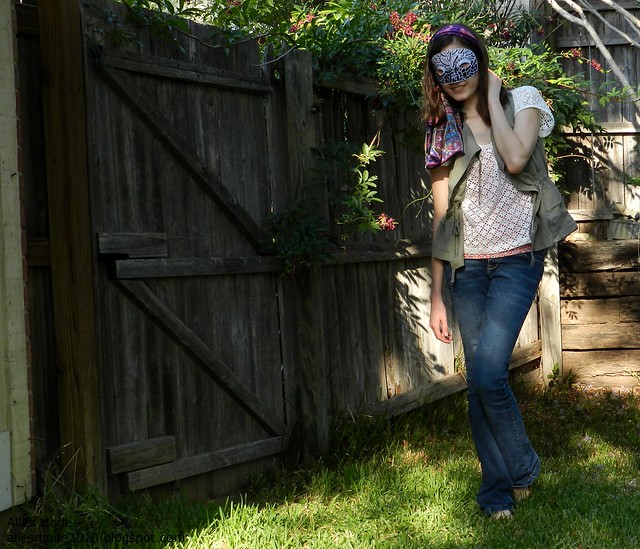
Top and Scarf: T.J.Maxx/ Tank: Gap/ Vest: Nordstrom/ Jeans: Delias/ Shoes: Urban Outfitters

Okay, so maybe I'm getting ahead of myself here, since it's still rather hot, but it's cold enough inside to start thinking about fall/fall transition outfits. This outfit probably looks really familiar. And it should! It's practically the same outfit! But that's what the point of this post is, boys and girls. Whether you have a summer outfit that you just absolutely love (this outfit) or you're stumped for outfit inspiration and are desperately trying to get out the door so you aren't late to class (also this outfit), changing an outfit from summer to wearable in the fall is a quick fix for both. Here are my steps: 

1. Switch out any key seasonal pieces for ones that fit the current season (I mean weather seasons, not fashion seasons). For example, in the original outfit, I wore jean shorts. Perfect for summer, but not freezing cold classrooms. So I wore jeans instead!

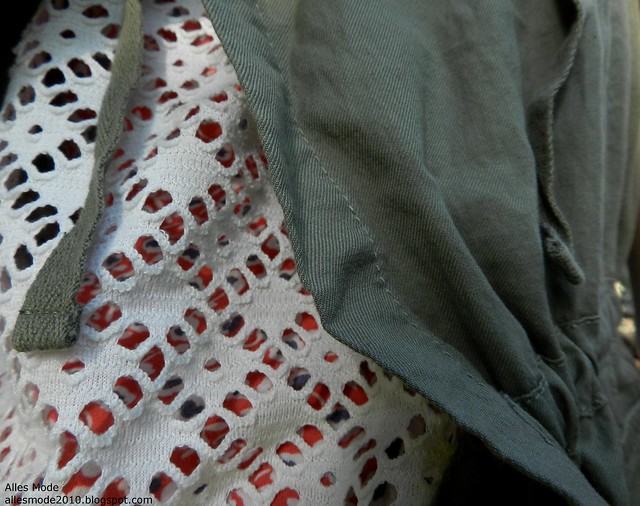
2. Add a few fall-ish details. In this new outfit, I left the scarf long instead of tying it up and out of the way in a bow. The bow was more "summer-y" to me, especially since this scarf has lots of dark, fall colors. I also wore a red tank underneath the shirt instead of a white one. The breezy white was perfect for summer, but since I wanted to add a fall feel, I tried to include as many dark colors as I could. 

3. Lastly, add one other  seasonal key piece.  For this outfit, I added a dark, neutral vest to make the outfit darker and more earth-y/fall-ish. 

Voilá! I know I'm not the French one here (so yes, I did have to look up the correct spelling of that word), but I couldn't resist. Now you have a perfect fall transition outfit! Still with a hint of summer, but without looking like you're in full blown, back to school, I-wish-it-still-was-summer denial. 

-Charlotte
012e
013e
014e
015e

Thursday, April 28, 2011

Eierbaum

As I showed you guys in my post about my Easter weekend, I made an Eierbaum! That's not the official term for it, but in German you can sometimes make up words for things, so that's what I call it. I also can't remember the official term, but that's another story. Literally, it means "egg tree," which basically describes it perfectly! This is a traditional German Easter decoration, and here is my tutorial explaining how to make one!

037edited

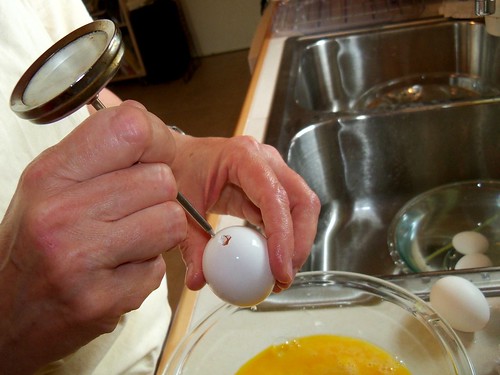
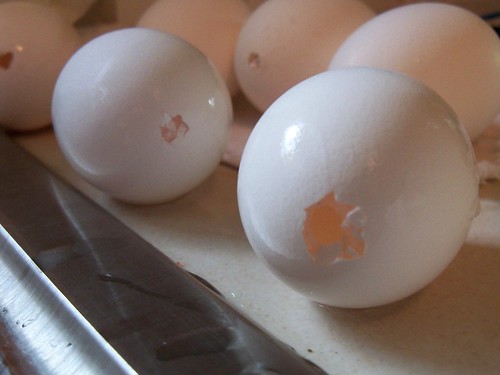
First you want to poke two little holes in the raw eggs, one in the top and one in the bottom. We used a meat thermometer thing, as you can see above. Then blow out eggs. To do this easily, make sure one hole is smaller than the other. 

030edited

Once the eggs have been blown out, wash the egg shells with soapy water and then rinse. 

096

097edited

116edited

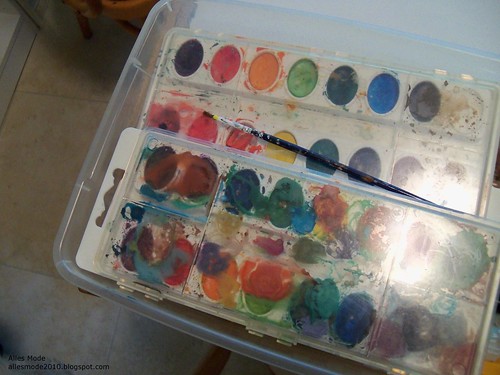
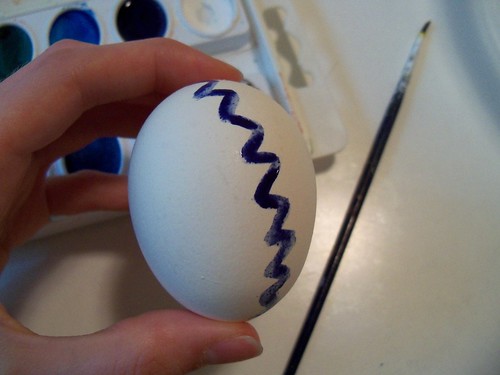
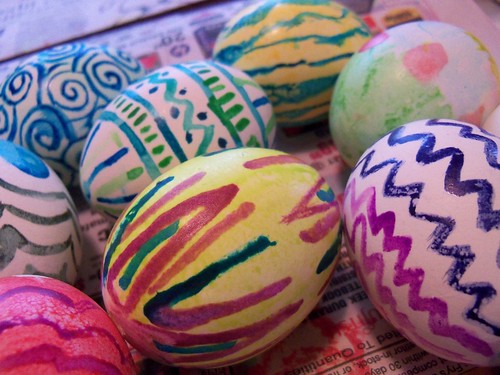
Then use water colors to paint the egg shells. 

Break a match into pieces and use the piece without the red thing for the tree. Tie a piece of white thread around the piece of wood. Then put it in the small hole at the top of the egg. If things turned out right, the thread tied to the match can be used to hang the eggs on the tree. 

142edited

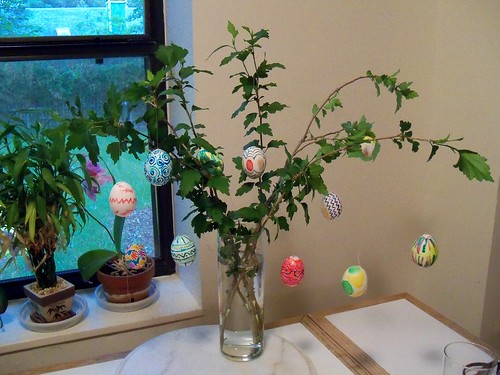
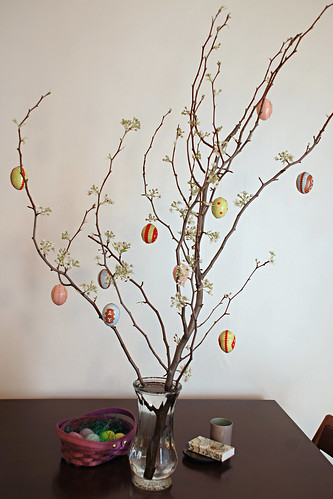
This is what my final product looked like! It's a bit different than what a traditional egg tree is supposed to look like. In Germany, the temperature is quite different than it is where I live, so the branches wouldn't have any leaves on them. I prefer the look of the Eierbaum without leaves, but I just did what I could! 

This is one of my favorite German traditions, and I love the whimsical touch it adds to my kitchen! I hope this tutorial was easy to follow, but just let me know if you have any questions!

-Charlotte 

LinkWithin

Related Posts Plugin for WordPress, Blogger...